MAC
Step 1: Connect to Server
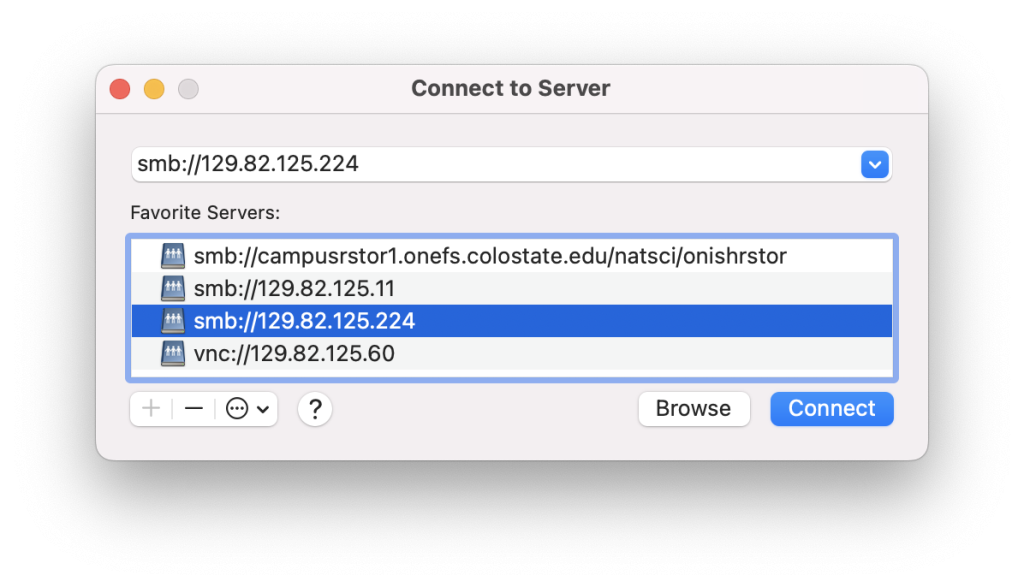
Open the Finder App. On the top menu, select Go, then Connect to Server. Cmd-K is a keyboard shortcut. Then manually enter smb://129.82.125.224 and click Connect.

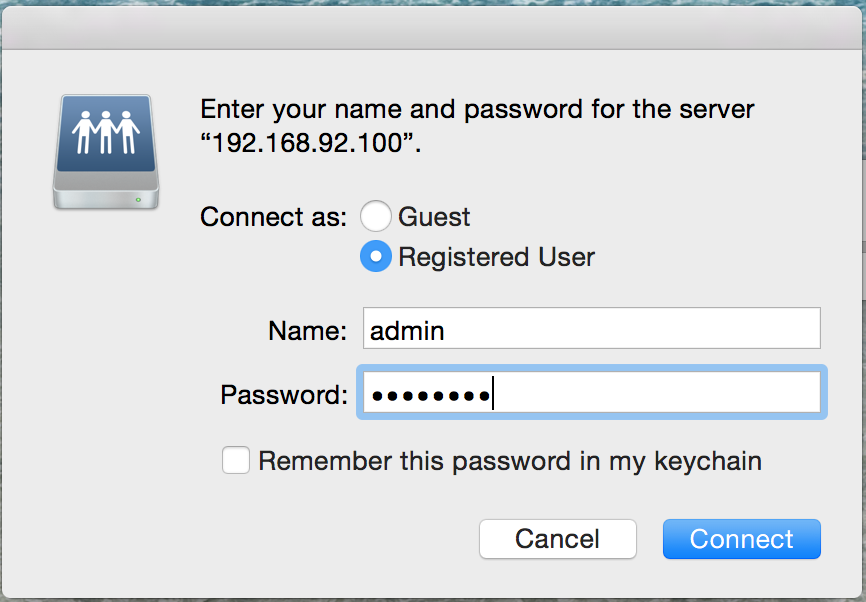
Step 2) Log in with username and password
You will then be prompted to log in. The username and password was provided to you by Erin or someone else. It is not your CSU net ID.
Note: the following example has a different IP address than ours.

Step 3) Mount Volumes
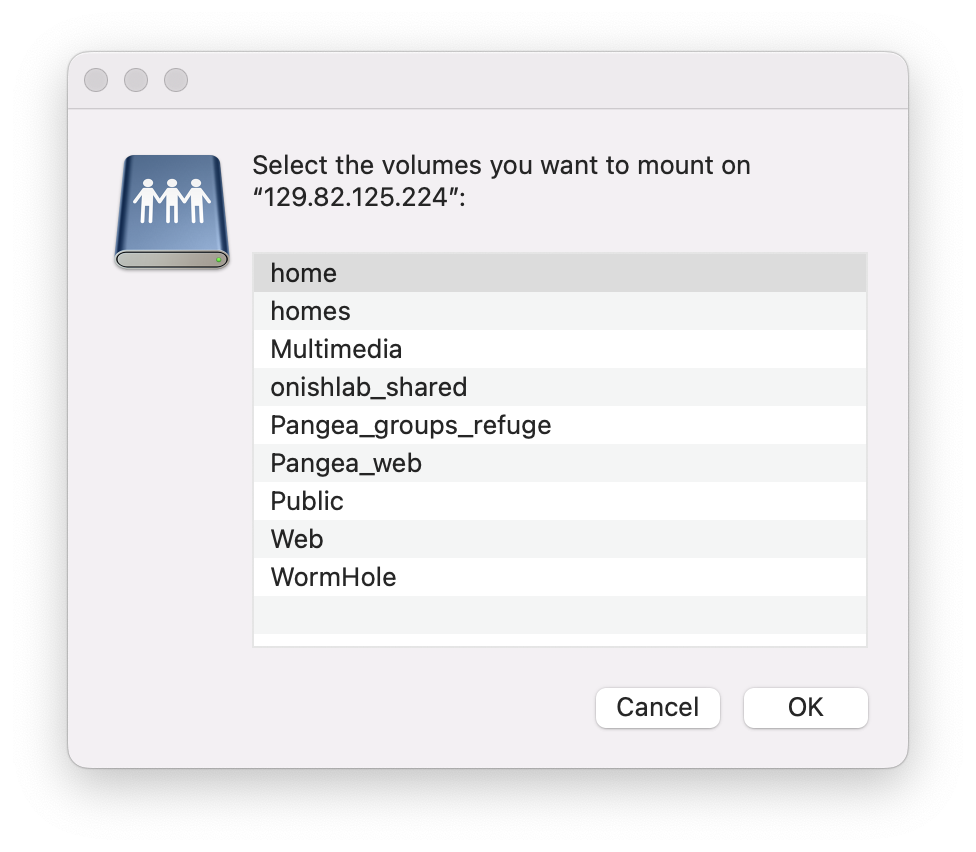
Next it will ask you what folders to connect to like so:

Volume/Folder organization
Our organizational strategy is:
- home – your home directory. You can read and write.
- homes – All home directories. Read-only
- onishlab_shared – Shared projects/files
- Wormhole – Microscope data collected from the Deltavision
- Web – files accessible through the web
- Pangea_web/Pangea_groups_refuge – miscellaneous
Step 4) Using the mounted folders
They should appear in the left panel of Finder. Otherwise, use Finder -> Go -> Go to Folder… and enter “/Volumes”